Frankfurt Airport Terminal 1: Piers A, B, C, Z and How to Find Your Way
Terminal 1 isn't one building — it's four piers that grew together over decades. Knowing which pier your gate belongs to saves you ten minutes and a wrong turn in Frankfurt.

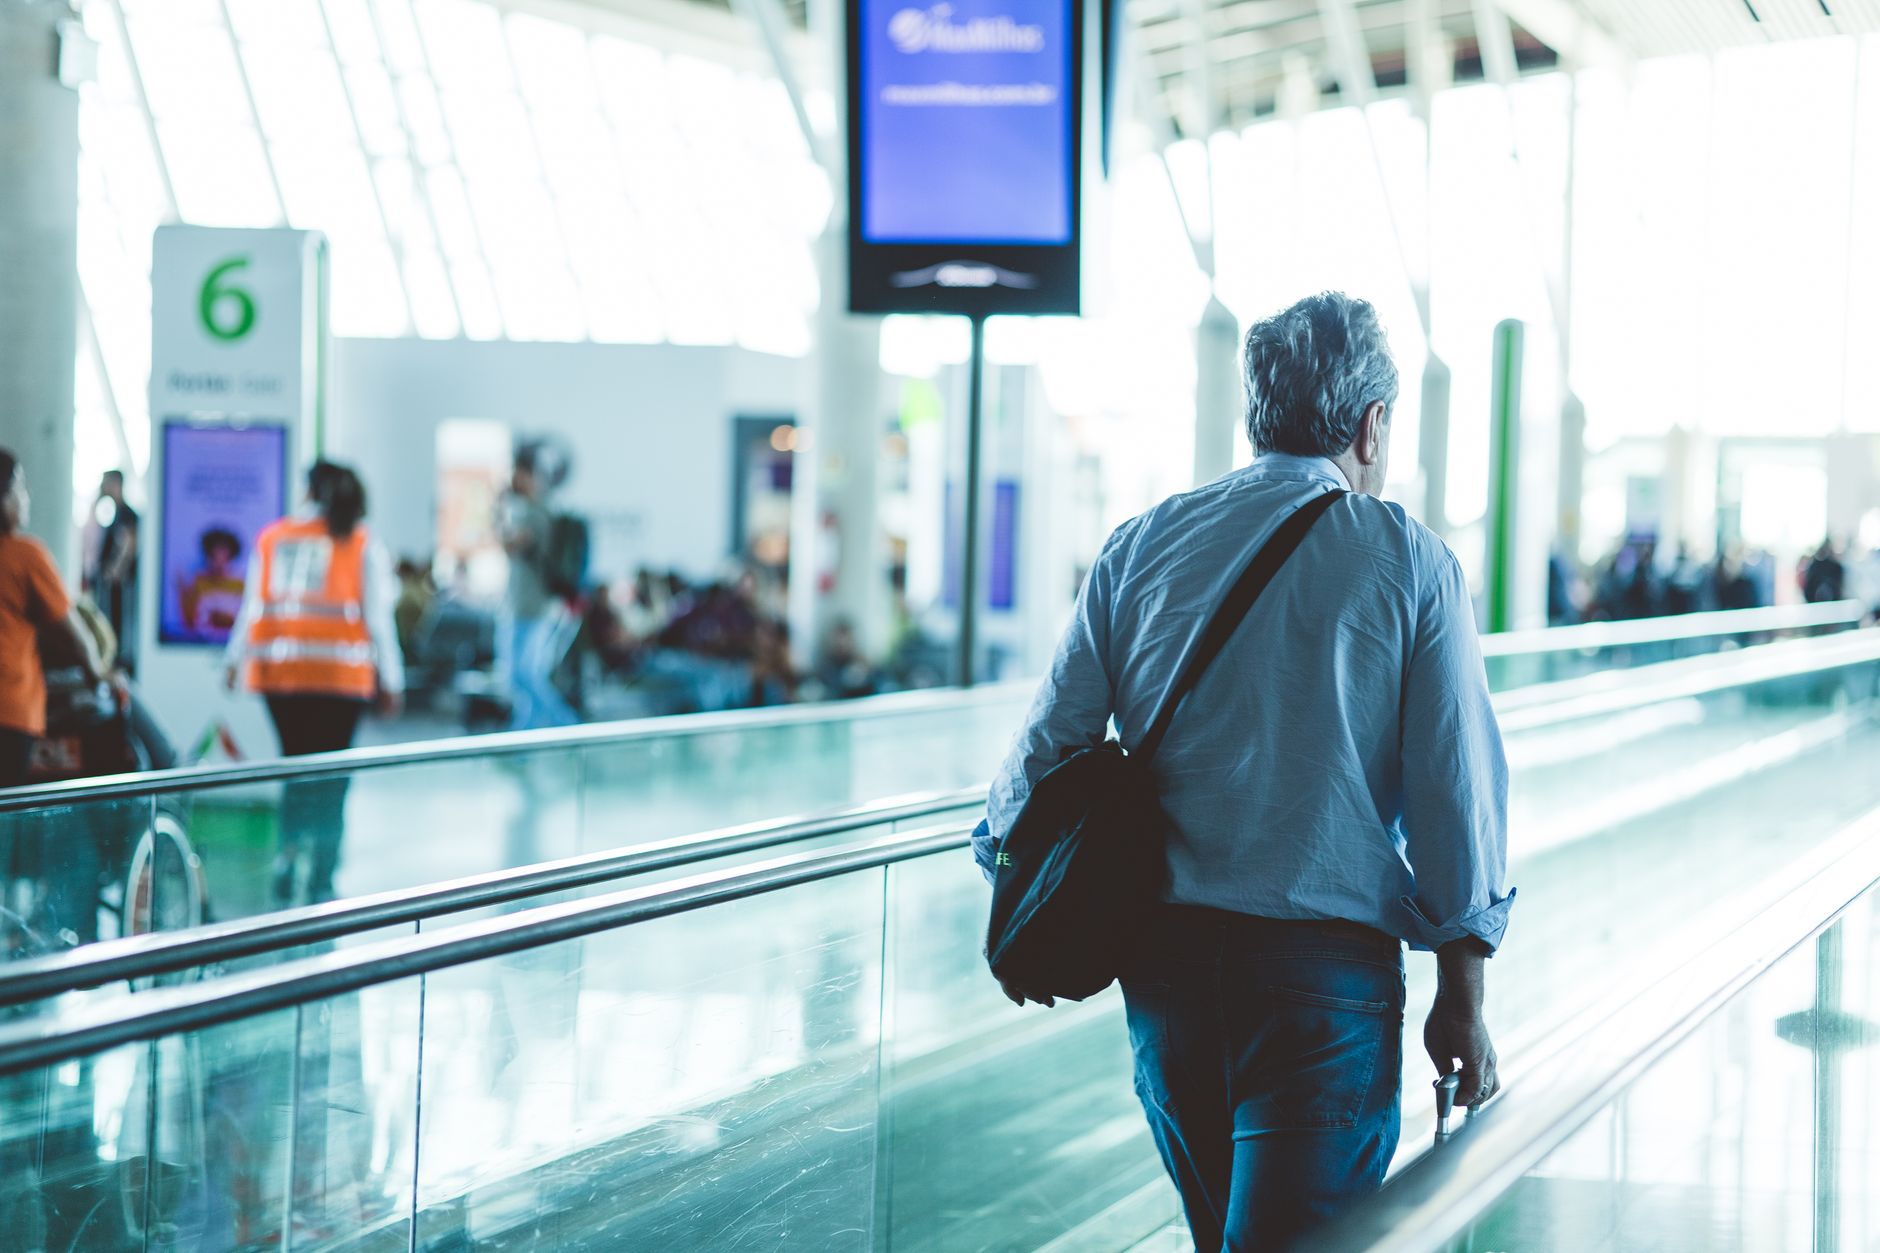
Frankfurt’s Terminal 1 is bigger than it looks from outside, and that comes down to how it was built. It wasn’t put up in one go — the central building came first, then Pier A, then Pier B as a circular hub, then C, and finally Z, which sits above B. The result is a building that behaves internally more like four connected terminals than one. Once you know how the piers relate to each other and which airlines operate from which, most of the disorientation that T1 tends to cause simply goes away. That’s what this piece covers — not parking (that’s the Terminal 1 parking guide) and not the full comparison with Terminal 3 (that’s the terminals overview), but the question that actually matters at the gate: where you are, and how to get to where you’re going.
The four piers and how they connect
Terminal 1 is divided into Pier A, Pier B, Pier C and Pier Z, arranged roughly west to east and linked through the main building and internal walkways.
Pier A sits in the western section and is the oldest and busiest part of the terminal, handling both Lufthansa short-haul and a large share of long-haul departures. Gates here run through a conventional numbering scheme (A1 up past A60), with the larger widebody stands generally further out along the pier.
Pier Z sits one level above Pier B and is structurally linked to A — to reach Z gates, you typically walk through A and then up a level. Z is used mainly for non-Schengen Lufthansa Group flights, meaning destinations outside the Schengen area.
Pier B is the circular hub in the middle of the terminal — visually the most distinctive part, with gates arranged around a central core rather than in a straight line like A. Both Schengen and non-Schengen flights operate from here, depending on gate assignment on any given day.
Pier C sits at the eastern end and is the most compact of the four. It’s used partly for Star Alliance partners and partly for charter and feeder services.
The key caveat: “this airline always flies from this pier” only holds loosely in Frankfurt. Within the Lufthansa Group, gate and sometimes pier assignments shift day to day depending on aircraft type and load. Trust the terminal display, not your memory from your last trip.
Who flies from where
Terminal 1 is fundamentally the home of the Lufthansa Group and Star Alliance. That hasn’t changed, even after a large share of the other carriers relocated to Terminal 3 in 2026.
Pier A is the focus for Lufthansa’s Schengen network as well as a share of long-haul routes. If you’re arriving on a Lufthansa flight from a German or European city and connecting onto a long-haul departure in Frankfurt, A is often your first stop.
Pier Z groups together Lufthansa Group’s non-Schengen destinations — North America, parts of Asia, Africa. You’ll also find a share of flights here from United, Air Canada and Singapore Airlines.
Pier B handles a mixed programme of Lufthansa short-haul and Star Alliance partners such as Swiss and Austrian. Which airlines use T1 and which the new Terminal 3 shifted when T3 opened in 2026, so check your terminal on the day.
Pier C carries a more fragmented mix, including regional connections and a share of Lufthansa Group codeshare flights.
Condor is a special case: the airline remains in Terminal 1 and isn’t due to move to Terminal 3 until around 2027. If you’ve booked a connection combining Condor with a T3 airline, that’s a terminal change despite being “one airport.”
The pier assignment that actually matters is the one on your boarding pass or the departure board — usually a three-character gate number whose first letter tells you the pier (A, B, C or Z). That’s a more reliable source than any general breakdown, including this one.
The SkyLine: how you move between piers
Within Terminal 1, the SkyLine — an automated elevated people mover — links stations at Pier A/Z, Pier B and Pier C. The ride between adjacent stations within T1 takes around one to two minutes, running roughly every two to three minutes.
One detail that regularly catches travellers out: each train has two separate cars — one for Schengen passengers, one for non-Schengen. Board on the wrong side of the platform and you end up in the wrong security zone, with a walk back to correct it. Check which side applies to your gate before boarding; the platform displays show it.
If you walk instead of taking the SkyLine, allow roughly five to ten minutes of walking time between the outer piers — say, from A to C — on level, covered routes with no significant elevation change apart from the ramp up to Pier Z. For a tight connection within T1, the SkyLine is almost always the safer choice, since it skips the walk through several busy terminal sections.
Distinct from this internal SkyLine is the connection between terminals themselves: the older line towards T2 still runs, but the building behind that station has been closed to passengers since June 2026 — why, and where the airlines from Concourses D and E ended up, is covered in the piece on Terminal 2. The journey that matters now is the one to T3, with timings of its own — details are in the terminals overview.
Walking routes: what the signage doesn’t show at a glance
T1 has been extended over decades, and it shows in the signage: at several junction points it’s been reworked more than once and doesn’t always point you toward the most direct route first.
A few fixed reference points help. The central terminal area sits between Pier A and Pier B — from here, routes fan out to the piers. Level 1 is the arrivals level with baggage reclaim, Level 2 the departures level with the check-in halls and access to the regional station. Above that sit passport and security control, the lounges and the routes out to the gates (as of 2026).
If your gate sits far out along a pier — a high gate number, such as A60 or one of the far Z gates — allow an extra ten to fifteen minutes from security, particularly on long-haul routes where boarding tends to start earlier anyway. Lower gate numbers closer to the terminal core, by contrast, are often reachable in under five minutes.
First-time visitors to T1 consistently underestimate how far apart Pier A and Pier C actually are — the terminal map makes the building look more compact than it feels on foot.
Lounges in Terminal 1: where to find them
Given its Lufthansa focus, Terminal 1 has a notably high concentration of lounges — well above what you’d expect from a terminal of this size.
The Lufthansa Senator Lounges are spread across several locations: one in the Pier A area on Level 2, one in the Pier B area on Level 3, and one in the Pier Z area on Level 3. Which one is relevant to you depends on your departure gate — walking to the wrong pier after security, with luggage, can easily cost you ten minutes.
The First Class Lounge sits in Pier A, near Gate A13, with a dedicated entrance for Lufthansa Group first-class passengers.
For other Star Alliance elite members and business-class passengers, there are additional business lounges, likewise spread across the piers. The exact mapping — which lounge serves which gate area — is most reliably shown on the lounge directory right at the security checkpoint, since assignments shift occasionally as construction phases change.
The practical takeaway: if you want to use a lounge and don’t yet know your gate, don’t default to the nearest one. Check the gate display first, then head for the lounge that matches that pier — otherwise you risk walking the route twice.
T1 versus T3: what actually differs on the ground
The broader difference between the terminals is covered in the terminals overview; here’s what specifically affects getting around T1.
T1 grew organically, T3 was planned as a whole. You notice it in the signage, in varying ceiling heights between piers, and in the fact that some connecting routes don’t take the shortest line but run through older sections of the building.
Routes within T1 are, on average, shorter than in T3, particularly if you’re starting from the central area (Pier A or B). Frequent Lufthansa short-haul flyers who know the building tend to get from check-in to gate faster in T1 than a first-time visitor does in T3.
Lounge density is noticeably higher in T1, a legacy of it being Lufthansa’s historic home base. Star Alliance frequent flyers will generally find more choice here than in T3.
If your connection routes you through both terminals — arriving on a T1 carrier, departing on a T3 one, say — that’s a genuine terminal transfer with the timings set out in the overview, not just a change of pier.
Tight connections: which pier belongs to which zone
If you’re connecting within Terminal 1, the key question isn’t “how far” but “do I have to leave the security zone.” Because Pier A/Z and Pier B/C each hold their own Schengen and non-Schengen areas, a connection that stays within the same zone is straightforward, while a zone change — say, from a Schengen arrival gate to a non-Schengen departure gate — can mean going through security again.
Rough figures to plan around:
| Connection | Time |
|---|---|
| Within the same pier, same zone | 5–10 minutes |
| Pier A ↔ Pier B, via SkyLine | 10–15 minutes |
| Pier A ↔ Pier C, via SkyLine | 15–20 minutes |
| Schengen ↔ non-Schengen change (with re-screening) | plus 20–30 minutes |
These are planning figures, not guarantees — during peak holiday travel or when security queues run long, the extra time adds up fast. For a self-booked, separate-ticket connection within T1, I wouldn’t plan on less than 60 minutes, even where the airport’s own published figures suggest shorter windows.
Making the most of your departure day
A handful of habits make navigating Terminal 1 noticeably less stressful.
Look at the gate number, not the airline name. The letter before the number (A, B, C or Z) is your most reliable reference, because airline-to-pier assignments can shift while the gate structure itself stays stable.
Use the SkyLine for gate numbers above roughly 40 or 50. At that range, the gate usually sits at the far end of a pier, where the walk takes noticeably longer than the one-to-two-minute ride.
Confirm your gate before heading to a lounge. Lounges are pier-specific, and a wrong first move costs more time — with luggage and under time pressure — than the couple of minutes you’d save by rushing off straight away.
Build in extra time for Pier Z, since access runs through the level above Pier B rather than through its own direct SkyLine station — you get there via A/Z.
Once you’ve mapped the four piers in your head — where they sit, how the SkyLine links them, which lounge belongs to which area — Terminal 1 stops costing you time on orientation. The building’s size doesn’t change, but it becomes predictable, and that’s what separates a relaxed start in Frankfurt from a rushed one.
Keep reading
Terminals & Getting Around
Frankfurt Airport Terminal 2: Closed Since June 2026 — and Where Your Flight Goes Now
Frankfurt Airport Terminal 2 closed to passengers on 9 June 2026. What became of Concourses D and E, where your airline moved, what still runs at the building, and when it returns.
Sophie Bauer24 September 2026
Terminals & Getting Around
Long Layover at Frankfurt Airport: Leave or Stay in the Terminal?
Six hours to kill at FRA: when a trip into the city is worth it, when you should stay airside, and the honest time arithmetic for passport control, security and baggage.
Sophie Bauer19 August 2026
Terminals & Getting Around
Connecting at Frankfurt Airport: What the Minimum Connection Time Leaves Out
Minimum connecting time at FRA: Fraport calls 45 minutes achievable, Lufthansa has sold nothing under 60 at its own hub since 2025. What really eats the gap between gates, and who pays when you miss the connection.
Sophie Bauer17 September 2026
The Airports
Frankfurt Airport 2026: Which Terminal, Which Route, How Much Time
Frankfurt Airport 2026: Terminal 3 is open and Terminal 2 shut. Which airline flies from where, how to move between T1 and T3, and how much time to allow.
Sophie Bauer14 August 2026
Arrival & Baggage
Frankfurt Airport Arrivals: Terminal 1 or 3, Baggage, Customs and the Way Out
Arriving at Frankfurt Airport in 2026: where you land now Terminal 2 has closed, how passport control, baggage reclaim and customs work, and how to get onward from Terminal 1 and Terminal 3.
Sophie Bauer25 September 2026